

How To Grow Roses From Seeds?

Do you want to know how to grow roses from seeds? It’s not as hard as you think, but there are some things you need to keep in mind. In this blog post, I will teach you everything you need to know about growing roses from seeds. Are you ready? Let’s get started!
The first thing you need to do is collect some rose seeds. You can buy them from a store or collect them from a friend’s garden. Once you have your seeds, you’ll need to plant them in a pot or container filled with soil. Be sure to water them regularly and keep them in a warm, sunny spot.
It can take a few weeks for your rose seeds to germinate, so be patient! Once they’ve sprouted, you can transplant them into your garden. Just be sure to choose a spot with plenty of sunlight and ensure the soil is well-drained.
Now that you know how to grow roses from seeds, why not give it a try? You might be surprised at how easy it is – and how beautiful your roses will be!
Moreover, it would help if you also read our article about how to grow mint from seeds.
Steps for growing roses from seeds
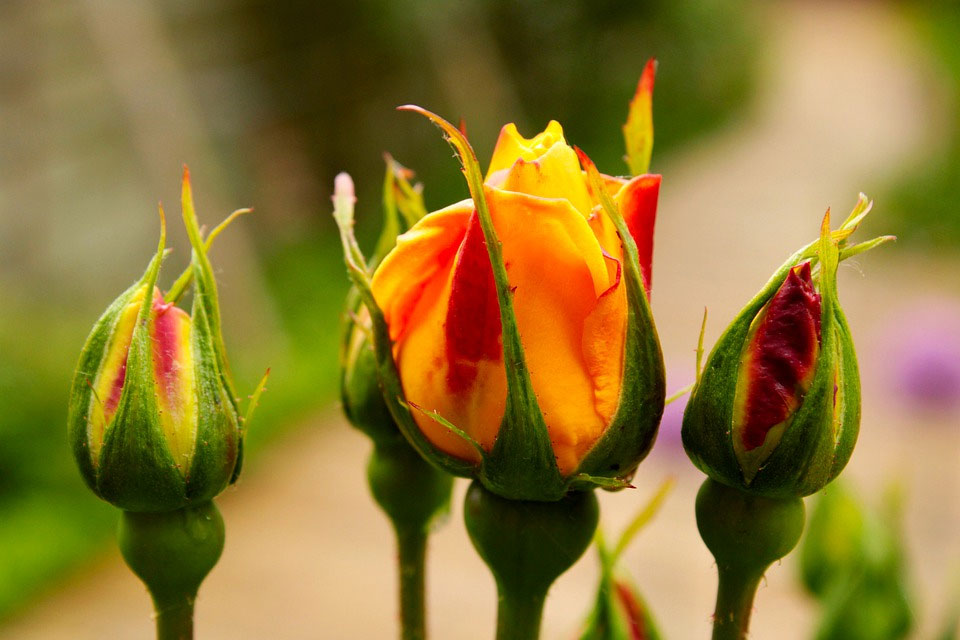
Although propagating roses from seed is not the quickest method, it has several advantages. Roses from seed take a little longer, but you wind up with a wider variety of flowers. Professional hybridizers choose cultivars resistant to disease and easy to maintain for propagation.
When the seeds finally bloom, each seedling will be a surprise. It’s like receiving a present on your birthday as a kid. In actuality, you had no clue what to anticipate! When you see those tiny seedlings for the first time, and they begin to bloom, it generates the same feelings experienced when you were a kid opening up presents on your birthday.
Before we delve into the nitty-gritty, let’s cover the basics. When growing roses from seed, there are various steps to take. For experts, it typically starts with choosing their desired type in the garden and monitoring its flowering and pollination progress. In our case, however, collecting seeds will be our first move.
1. Selecting the right seed
To ripen fully, the rose plant must be allowed to develop for at least four months. They must be plucked in the fall using a suitable gardening instrument. Before washing, use tweezers or cuticle scissors to remove them.
Cutting the ripe rose hip in half should then remove the individual seeds. Place the seeds in an empty container that has been cleaned. Add a bit of diluted bleach to destroy any germs and fungal spores.
Before using, rinse the seeds well and eliminate all of the bleach by stirring them with bottled water. Mix two teaspoons of home bleach with two cups of water to produce the required bleach.
Before planting your seeds, disinfect them by soaking them in hydrogen peroxide. Remove all the hydrogen peroxide by rinsing with clean water before planting.
If you want to ensure that your majority of seeds will germinate properly and without diseases, start by soaking them. It would help if you didn’t mix bleach and hydrogen peroxide because they’ll cause a chemical reaction. Every 24 hours is safe to use 3% peroxide; you can also do the water floating test during this time. It’s not worth planting any seeds that are just drifting around because they won’t have a high chance of surviving.
2. Seed stratification
The seeds must be stratified for a long time before being utilized to generate roses from a seed can. This method is used in cold, moist storage to germinate the seeds.
3. Cold treatment
Chilling your seeds in the refrigerator for six to ten weeks before planting will help them germinate quicker. Be aware that if chilled for too long, they may start to sprout while still in the fridge.
Spread your seeds on a paper towel before moistening them. To prevent mold from developing, combine half peroxide and half clean water. After that, you may put them in a plastic zippered bag and refrigerate them between 1 and 3 degrees Celsius with the date and type noted on the label.
The paper towel should stay damp for the entire duration. Check it now and then to see if it needs more water. Also, make sure the towel doesn’t freeze during this time.
Instead of other methods, stratification can be done by putting the seeds in a tray for weeks with potting soil and storing it in the fridge. Keep the entire tray moist by placing it inside a plastic bag.
4. Planting seeds
You’ll need a few tiny containers or shallow trays to plant your seedlings. Take them out of the fridge and plant them as soon as you think they’re ready if you used the refrigerator method of stratification (6-10 weeks).
The seeds of rose hip cultivars requiring individual tray cultivation must be germinated in separate containers. Always follow the instructions on the packaging when harvesting, processing, and planting your roses. With the variety name and planting date clearly marked on each container, it’s easy to tell which rose bushes are inside.
Divide the potting soil evenly between the containers or separate trays. Remove your seeds from the cloth when your potting mix is ready in the seedling trays or pots. Remember that you must wait to remove the seeds from the plastic bag until after they have been planted. It would be best if you gently dusted them before planting.
To avoid seed dampness, which causes seeds to perish, plant your seeds about 14 inches into the earth and top off with a fresh coating of soil. Place them outside in direct sunshine and give them enough water. To protect your seeds from frost, consider putting them beneath a tree or indoors, away from the patio deck. Grow lights are not required.
Keep your soil trays or pots moist, but not drowned in water. If they dry out, it can prevent your seeds from germinating.
5. Track the germination process of the seed
After approximately six weeks, the first two seed leaves will appear before the real leaves start to show. Before transplanting, the seedling needs three to four true leaves.
6. Transplanting the seedlings
Seedlings are ready for transplanting when they have grown to a few inches tall and have at least three true leaves. They can be moved into any four-inch pot you wish. Only the healthy seedlings need to be transplanted; the others can stay where they are now. You may monitor them closely while they remain on the planting tray and only transplant them when they have reached a suitable size.
While your seedlings develop, you must monitor their color, form, growth habit, branching, and disease resistance. You can get rid of roses with weak or sickly-looking flowers. Your brand-new seedlings won’t mature for three years at least but will take one to two years before the first flower blooms appear.
Moreover, it would help if you also read our article about growing morning glory from seeds.
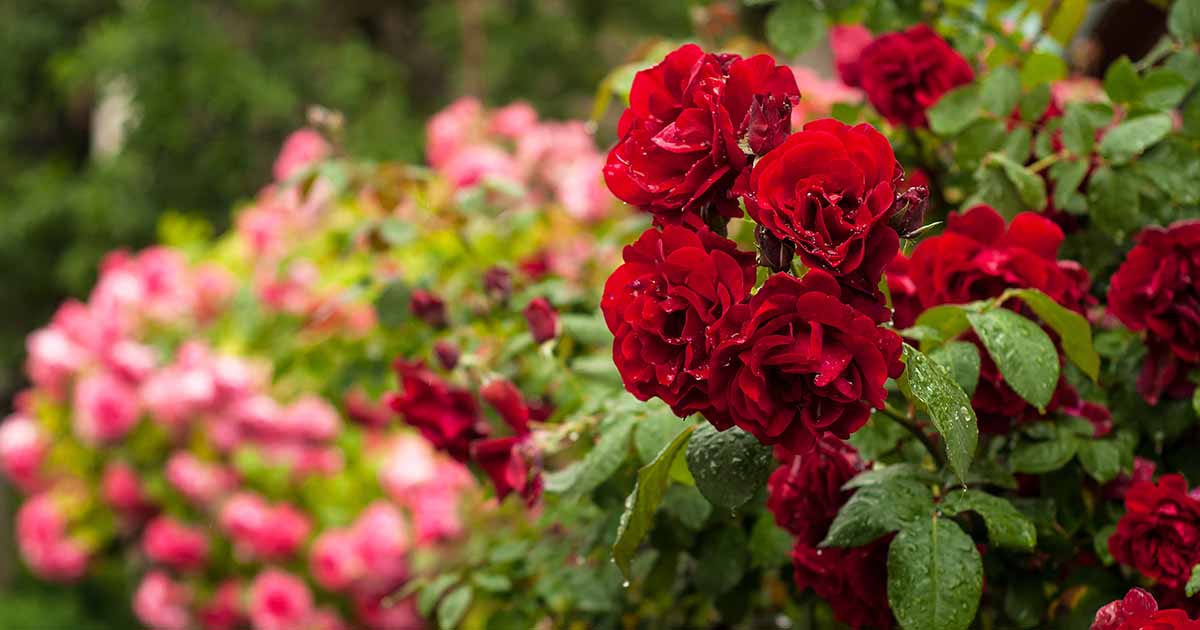
What is the best time to pluck roses?
The best time to pluck your roses is in the morning after the dew has evaporated but before the day’s heat sets in. Cut the stems at an angle, and be sure to include a few inches of stem below the flower. Place your roses in a vase or container filled with water; they should last for several days. Enjoy your roses, and share them with friends and family!
Conclusions
By following these six simple steps, you can successfully grow roses from seeds. It may take patience and effort, but the result is well worth it! Have you ever grown roses from seeds? What tips would you add to this list?
Meanwhile, you can also write our previous article about how to grow peony from seed.
Hey'all I'm Amy, a born foodie and diagnosed with celiac disease 7 years ago. I refused to cave into tasteless, boring gulten free food and create my own!
On my blog you'll find info & cool facts along with recipes, all on gluten free foods!